Japanese Yogurt Cheesecake, Light and Airy
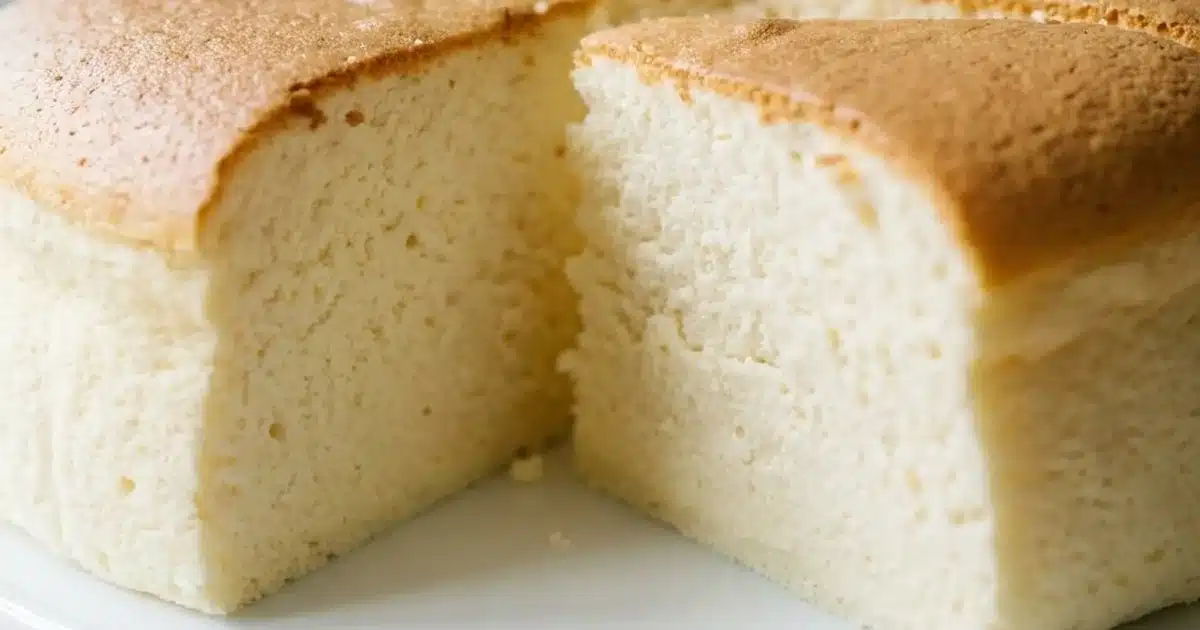
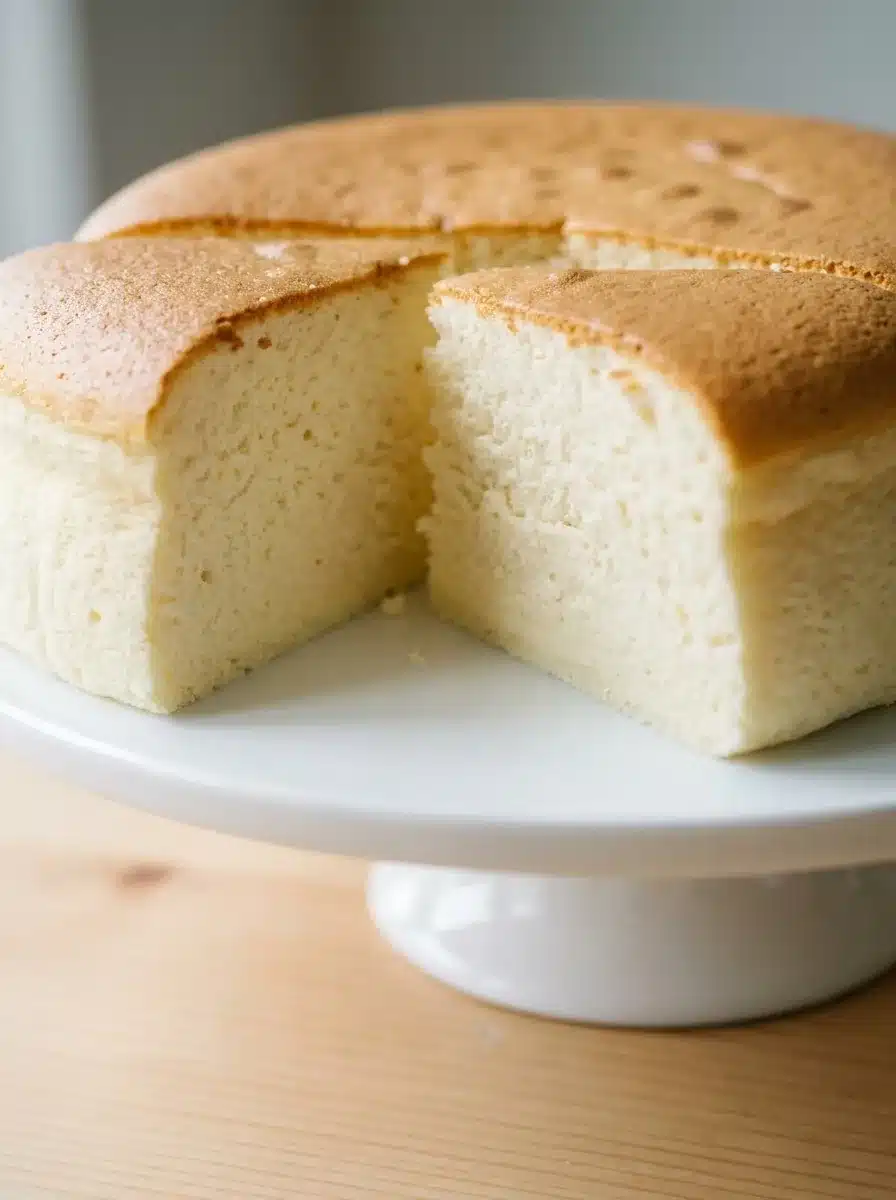
Japanese yogurt cheesecake from thick Greek yogurt, eggs, sugar and cornflour, baked in a water bath until it rises tall, airy and free of cracks.
This is the cheesecake that behaves like a souffle. There is no cream cheese in it and no biscuit base: thick Greek yogurt, eggs, a little sugar and a spoonful of cornflour are all it takes. The whites are whipped to a soft meringue and folded in, so the batter bakes into something closer to a sponge than to a dense New York slice. A water bath and a long, slow cool keep the surface smooth and the crumb damp. It is sweet enough to feel like pudding and light enough that a second slice is never a problem.
| Prep Time | 25 | Cook Time | 70 |
| Servings | 8 | Calories | 145 kcal |
Ingredients
- 500 g (2 cups) thick Greek yogurt, strained if loose
- 4 large eggs, separated, at room temperature
- 70 g (1/3 cup) caster sugar, divided
- 30 g (1/4 cup) cornflour (cornstarch)
- 1 teaspoon lemon juice, or 1/4 teaspoon cream of tartar
- 1/2 teaspoon vanilla extract (optional)
- 1 pinch fine salt
- 10 g (2 teaspoons) soft butter, for the tin
- 1 tablespoon icing sugar (confectioners sugar), to serve
- About 1 litre (4 cups) boiling water, for the bath
The yogurt does the work that cream cheese does in a Western cheesecake, so its thickness decides the result. Greek yogurt sold at around 10% fat gives the best balance: rich enough to taste like dessert, firm enough that the batter is not soupy. Low-fat yogurt works if you strain it well, but expect a leaner, slightly chalkier crumb.
Keep the eggs out of the fridge for half an hour before you start. Cold whites whip, but they take longer and hold less air, and cold yolks make the yogurt base seize into lumps when you combine them. The lemon juice is insurance rather than flavour: the acid stabilises the foam, and at one teaspoon across four whites you will not taste it.
Essential Kitchen Tools
| 18 cm round tin | Tall sides give the cake something to rise against |
| Deep roasting dish | Holds the water bath around the tin |
| Electric hand whisk | Soft-peak meringue in about three minutes |
| Fine sieve | Straining the yogurt and the batter, dusting at the end |
| Oven thermometer | Confirming the oven really is at 150 °C |
| Flexible spatula | Folding the meringue without knocking the air out |
None of it is specialist. The one item worth buying if you do not own it is the oven thermometer, because this cake fails at the wrong temperature and succeeds at the right one.
Why This Recipe Works
A classic baked cheesecake is held together by fat and set egg. This one is held together by air. Separating the eggs gets two jobs done at once: the yolks enrich and thicken the yogurt base, while the whites are beaten into a foam that acts as the raising agent. There is no baking powder in the recipe and none is needed, because the thousands of bubbles trapped in the meringue expand in the oven and push the cake up.
The cornflour is the quiet hero. Yogurt is mostly water held loosely in a protein network, and heat squeezes that water out. Thirty grams of cornflour swells as it warms and locks the free water in place, which is why the finished cake is damp rather than wet and why it slices cleanly straight from the fridge.
The water bath solves a problem of speed. Dry oven air reaches the tin at a full 150 °C and heats the outside of the batter far faster than the middle, so the edges set into a firm wall while the centre is still liquid and rising. That rising centre then has nowhere to go but up through a crust that has already stiffened, and the crust tears. Water cannot go above 100 °C, so the bath caps the temperature arriving at the sides of the tin and surrounds it with damp air. The cake cooks from the outside in at roughly the same pace everywhere, the surface stays supple instead of drying into a skin, and there is nothing rigid left to split. That is the whole reason a water-bathed cheesecake comes out smooth and an unprotected one cracks down the middle.
Finally, the sugar is deliberately low. At 70 g for a whole cake the sweetness sits behind the tang of the yogurt, which is exactly the point of this style: it tastes like set cream rather than like confectionery.
Pro Tips for Better Results
Learn the bird beak. Soft peak is the whole technique. Stop the whisk, lift it straight up, and look at the meringue clinging to the wires. If the tip stands rigid and points at the ceiling, it is too stiff. If it slumps flat and slides off, it is underwhipped. What you want sits between the two: the peak holds its shape, then the last centimetre curls over on itself like the beak of a bird. Foam at that stage is still elastic, so it stretches as the cake rises instead of fracturing, and it folds into the batter in three strokes rather than ten.
Strain the yogurt, then weigh it again. Brands vary enormously. Start the recipe only once you have 500 g of yogurt thick enough to hold a spoon upright for a second.
Degrease the bowl. Wipe the whisking bowl with a little vinegar or lemon juice on kitchen paper. Any trace of fat, including a speck of yolk, stops whites foaming properly.
Use boiling water, not warm. Cold water in the bath drops the oven temperature for twenty minutes and you lose the early rise.
Do not open the door during the bake. A rush of cool air makes the risen cake drop, and it will not come back up.
Give it the full hour in the switched-off oven. This is the step people skip, and it is the one that decides whether the top stays flat. Hot air trapped in the crumb contracts as it cools; in a cold kitchen that happens within minutes, and the structure, still soft, caves in and wrinkles. In the cooling oven it happens over an hour, slowly enough for the set egg to keep its shape. The wooden spoon in the door lets steam escape so the surface does not turn sticky.
Chill before cutting. Warm, this cake is fragile and bland. Cold, it firms up and the flavour sharpens.
Nutrition Facts (per serving)
| Calories | Protein | Carbs | Fat | Fiber |
|---|---|---|---|---|
| 145 kcal | 9g | 15g | 4.5g | 0g |
Figures are for one of eight slices, including the dusting of icing sugar. Made with 0% fat yogurt the fat drops to around 3g and the total to roughly 130 kcal a slice, though the crumb comes out slightly drier.
Japanese Yogurt Cheesecake, Light and Airy
Japanese yogurt cheesecake from thick Greek yogurt, eggs, sugar and cornflour, baked in a water bath until it rises tall, airy and free of cracks.
Ingredients
Instructions
- Heat the oven to 150 °C (300 °F), with a shelf in the lower third. Low heat is not a suggestion here: above about 160 °C the egg proteins set faster than the cake can rise, and the top splits.
- Butter an 18 cm (7 inch) round tin and line the base and sides with baking paper, letting the paper stand 4 cm above the rim. The batter climbs as it bakes and needs a collar to climb against. If the tin is loose-bottomed, wrap the outside in two layers of foil so no water creeps in.
- If your yogurt is at all runny, sit it in a sieve lined with kitchen paper for 30 minutes. Excess whey is the single most common cause of a soggy base. You want 500 g of yogurt that holds its shape on a spoon.
- Whisk the yolks with 20 g of the sugar, the salt and the vanilla until smooth, then whisk in the yogurt and sift in the cornflour. The cornflour is there to bind the water in the yogurt so it cannot weep out during baking. Pass the mixture through a sieve once; it takes a minute and removes every lump.
- In a clean, dry bowl, whisk the whites with the lemon juice on medium speed until foamy, then add the remaining 50 g of sugar in three goes. Stop at soft peaks: lift the whisk and the peak should curl over on itself like a bird beak. A stiff, upright peak means the meringue has gone too far and will tear the batter when you fold it.
- Stir a third of the meringue into the yogurt base to loosen it, then fold in the rest in two additions with a spatula , cutting down the middle and sweeping around the bowl. Stop as soon as the streaks disappear. Every extra fold costs you height.
- Pour the batter into the tin, tap it once on the worktop to release large bubbles, and set the tin inside a larger roasting dish. Pour boiling water into the roasting dish to come 2 cm up the side of the tin.
- Bake for 60 to 70 minutes. The cake is done when the top is pale gold, the edges have pulled very slightly from the paper, and the centre wobbles as one piece rather than rippling. A skewer should come out with a few damp crumbs.
- Turn the oven off, wedge the door open with a wooden spoon, and leave the cake inside for a full hour. Cooling it in the warm oven lets the hot air inside the crumb contract slowly, so the cake settles instead of collapsing and the surface stays unbroken.
- Lift the cake out of the bath, cool it to room temperature on a rack, then chill it for at least two hours before cutting. Dust with icing sugar just before serving, through a small sieve, and cut with a hot dry knife.