Creamy Frozen Pudding Pops Classic Recipe
↓ Jump to Recipe
Indulge in these creamy, classic frozen pudding pops. A simple, nostalgic treat perfect for cooling down on warm afternoons.
There is a distinct charm in the velvet texture of a frozen pudding treat, a flavor profile that transports many of us back to sunny afternoons spent in the backyard. These chilled delights bridge the gap between childhood nostalgia and adult appreciation for a fuss-free dessert. With a texture far superior to standard ice pops, they remain a staple in my kitchen whenever the temperature begins to climb.
The beauty of this project lies in its simplicity. By relying on pantry staples that most of us already have tucked away, you can produce a batch of high-quality frozen snacks without needing fancy equipment or hours of labor. It is a straightforward approach to crafting something indulgent that feels far more special than a simple store-bought option.
Whether you are crafting these for a gathering of friends or simply stocking the freezer for your own quiet moments of indulgence, this guide covers everything necessary for success. We focus on achieving that signature dense, silky consistency that distinguishes a true pudding pop from ordinary shaved ice creations. Let us walk through the process of building these flavorful, cool bites.
Table of Contents
The Science of Silky Texture
What makes these pops truly stand out is their thick, rich mouthfeel. Unlike water-based popsicles that can turn brittle or icy, the heavy dairy content in this mixture ensures a slow melt and a lush sensation on the tongue. By whisking the pudding mix with evaporated milk, you create a concentrated base that resists the formation of large ice crystals, which is the primary enemy of a premium frozen dessert.
Precision in your mixing is the secret weapon here. When you whisk the powder into the milk, you are hydrating the starch and emulsifying the fat. Ensuring that every particle is dissolved before the mixture hits the freezer is crucial for that uniform, fudge-like quality. If you want a denser pop, the higher fat content of evaporated milk is superior to standard milk, as it provides a creamier structure that holds its shape while remaining soft enough to bite.
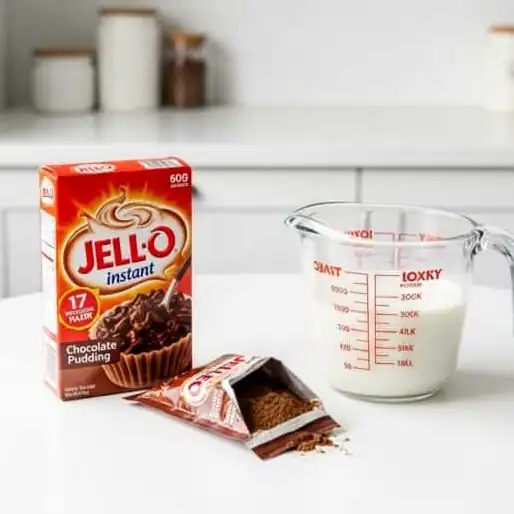
Equipment and Success Factors
While you do not need professional-grade machinery, having the right gear certainly streamlines the process. A reliable set of molds—whether silicone or sturdy plastic—is essential for shaping your treats. Silicone is often preferred for its flexibility, allowing you to peel the mold away from the frozen pop with ease. If you are using rigid molds, a brief run under lukewarm water is the standard maneuver to release the contents without structural damage.
The small details during the filling stage are what prevent air pockets and uneven distribution. Tapping your filled mold against a flat surface before inserting the sticks is a vital move to dislodge trapped bubbles. Furthermore, ensuring your sticks are perfectly upright and centered will guarantee that each pop is easy to handle once frozen. Patience is your final tool; allowing these to chill for at least six hours ensures the internal temperature is low enough to prevent any premature softening.
Ingredients You Will Need
Creamy Frozen Pudding Pops Classic Recipe
Indulge in these creamy, classic frozen pudding pops. A simple, nostalgic treat perfect for cooling down on warm afternoons.
Ingredients
Instructions
- Pour your chosen instant pudding mix into a medium-sized bowl.
- Add the evaporated milk to the bowl with the dry powder.
- Whisk the combination vigorously for two minutes until the texture is smooth and thick.
- Repeat the process in a separate bowl if you are creating multiple flavor batches.
- Lightly coat the interior of your popsicle molds with a thin layer of baking spray if desired.
- Spoon or pour the pudding mixture carefully into each mold cavity.
- Gently tap the molds against your kitchen counter to release any trapped air bubbles.
- Cover the tops of the molds with a secure lid or a piece of foil.
- Insert a wooden or reusable popsicle stick into the center of each cavity.
- Transfer the molds to the freezer and allow them to chill for at least six hours until firm.