Mastering the Art of Homemade Clear Gelatin
↓ Jump to Recipe
Discover the secret to professional, crystal-clear gelatin desserts. This guide offers a simple, reliable foundation for elegant culinary creations.
Stepping into the kitchen to create something from scratch offers a unique kind of satisfaction. Among the many pantry staples, few items offer as much creative potential as unflavored gelatin. Often overlooked in favor of pre-packaged, neon-colored mixes, this humble ingredient is actually a sophisticated tool that allows for endless culinary expression. By mastering a basic clear gelatin, you gain the ability to craft refined desserts that look like they belong in a high-end bistro.
This process is far removed from the sugary snacks of our youth. Instead, we are focusing on purity, clarity, and texture. Think of this preparation as creating a blank canvas for your palate. Whether you want to suspend vibrant berries in a glistening mold or build a delicate, silky base for a chilled dessert, this foundational technique serves as your primary guide. It is a rewarding project that relies on patience and precision rather than complex equipment.
I invite you to slow down and enjoy the meditative nature of this recipe. There is something truly therapeutic about watching the liquid transform from a simple mixture into a firm, sparkling work of art. As we walk through these steps together, you will find that the real magic lies in the details. Let us embrace the quiet beauty of this versatile treat and turn a few basic components into something truly remarkable.
Table of Contents
Why This Foundation Matters
The primary advantage of working with a neutral gelatin base is the total control it grants the cook. When you start with an unflavored product, you are not fighting against pre-determined sweetness or artificial dyes. This allows you to highlight the natural essence of your chosen ingredients. If you wish to showcase the tartness of fresh fruit juice or the subtle floral notes of an infusion, this clear base provides the perfect medium to do so without any interference.
Beyond the flavor profile, the visual appeal of a transparent dessert is difficult to replicate with other thickeners. It turns everyday fruit, edible blossoms, or even simple citrus slices into miniature sculptures. This technique is an essential building block for any home cook looking to elevate their dessert presentation. It encourages you to experiment with layers, colors, and textures, fostering a deeper understanding of how ingredients interact when cooled and set.
Refining Your Technique
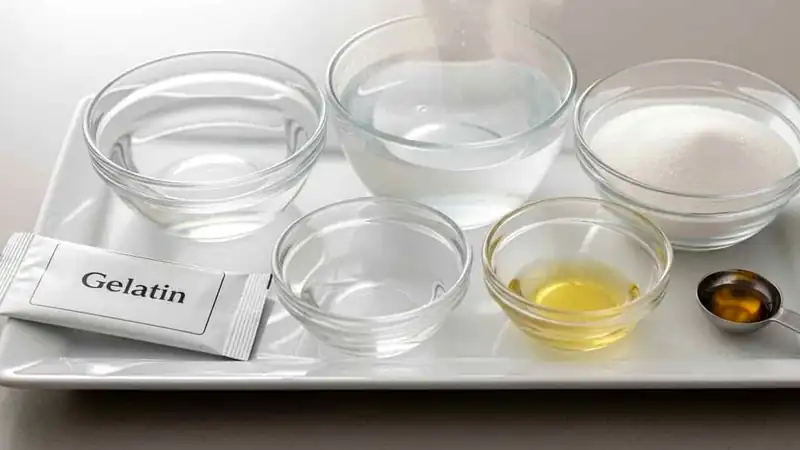
Success with this recipe hinges on the initial blooming stage. By evenly distributing the granules over cold liquid, you ensure that the hydration is uniform, which prevents any unwanted lumps from forming during the dissolution process. Think of this as the most important step; if you rush the bloom, the final result will lack the professional, smooth consistency that we are aiming for in a top-tier dessert.
Temperature management is equally vital. Introducing boiling liquid to your bloomed mixture requires a gentle, steady hand. Using a whisk or a spoon to stir slowly ensures that you dissolve every last particle without incorporating unnecessary air. Air bubbles can be the enemy of a perfectly clear finish, so maintaining a calm pace during this phase will pay off significantly when you finally unmold your beautiful, glassy creation.
Ingredients You Will Need
Mastering the Art of Homemade Clear Gelatin
Discover the secret to professional, crystal-clear gelatin desserts. This guide offers a simple, reliable foundation for elegant culinary creations.
Ingredients
Instructions
- Distribute the gelatin powder evenly over the cold water in a small mixing bowl .
- Allow the mixture to sit undisturbed for five minutes until it becomes spongy.
- Pour the boiling water into the bowl containing the gelatin.
- Stir the liquid gently until the gelatin has dissolved completely.
- Mix in the sugar if you prefer a sweet version.
- Stir in the vanilla extract or lemon juice if you desire extra flavor.
- Wet the inside of your mold with water to facilitate easy removal.
- Pour the mixture into your chosen dish and skim off any bubbles from the surface.
- Refrigerate the mold for at least four hours until it is firm.
- Dip the bottom of the mold into warm water for a few seconds to loosen the edges.
- Invert the mold onto a serving plate to release the gelatin.