Introduction
There’s something magical about the delicate floral aroma of rose syrup paired with creamy milk—it’s a combination that instantly transports me to warm summer days and cherished family gatherings. This rose milk gelatin recipe is a nostalgic treat that blends simplicity with elegance, making it perfect for dessert lovers who enjoy a touch of sweetness without overwhelming complexity. Whether you’re hosting a dinner party or simply craving a light, refreshing dessert, this recipe is sure to delight. Inspired by childhood memories of sipping rose-flavored drinks at family picnics, this dessert is a beautiful way to bring a piece of tradition into your kitchen.

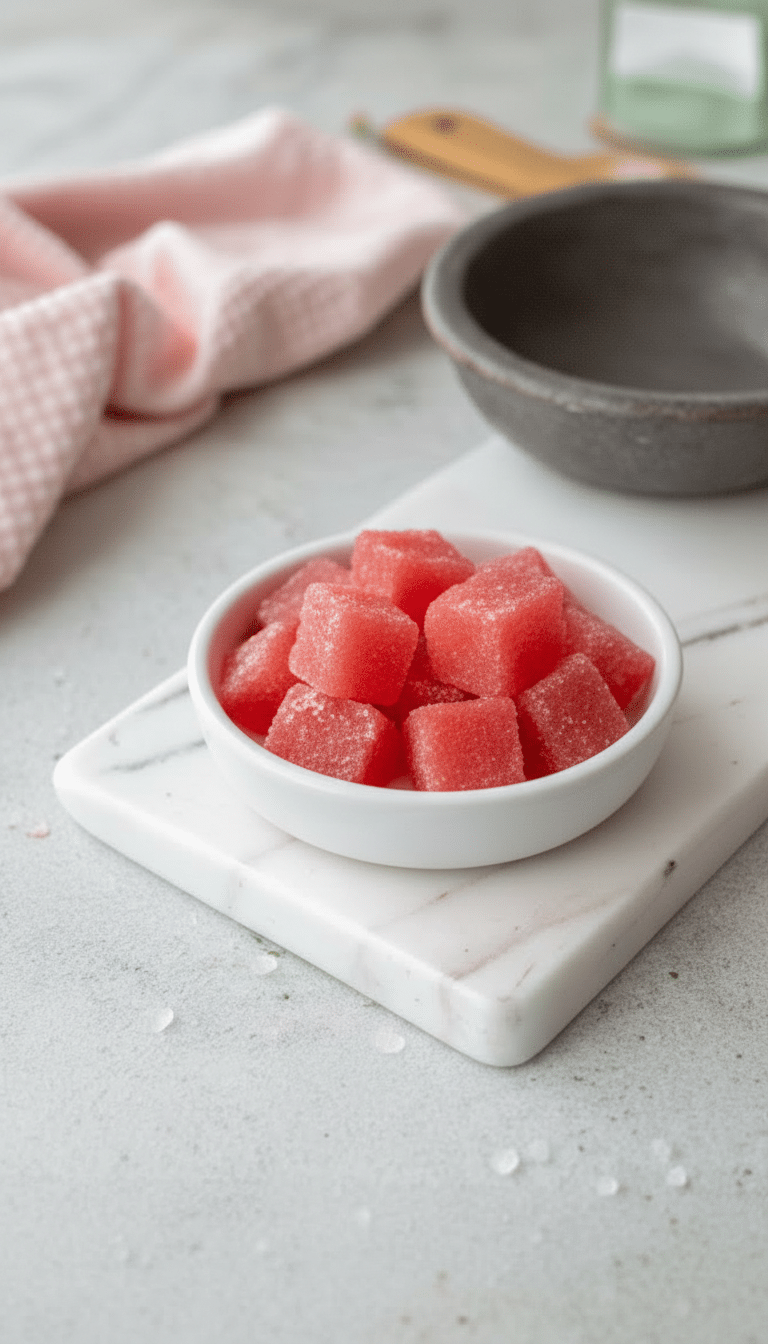
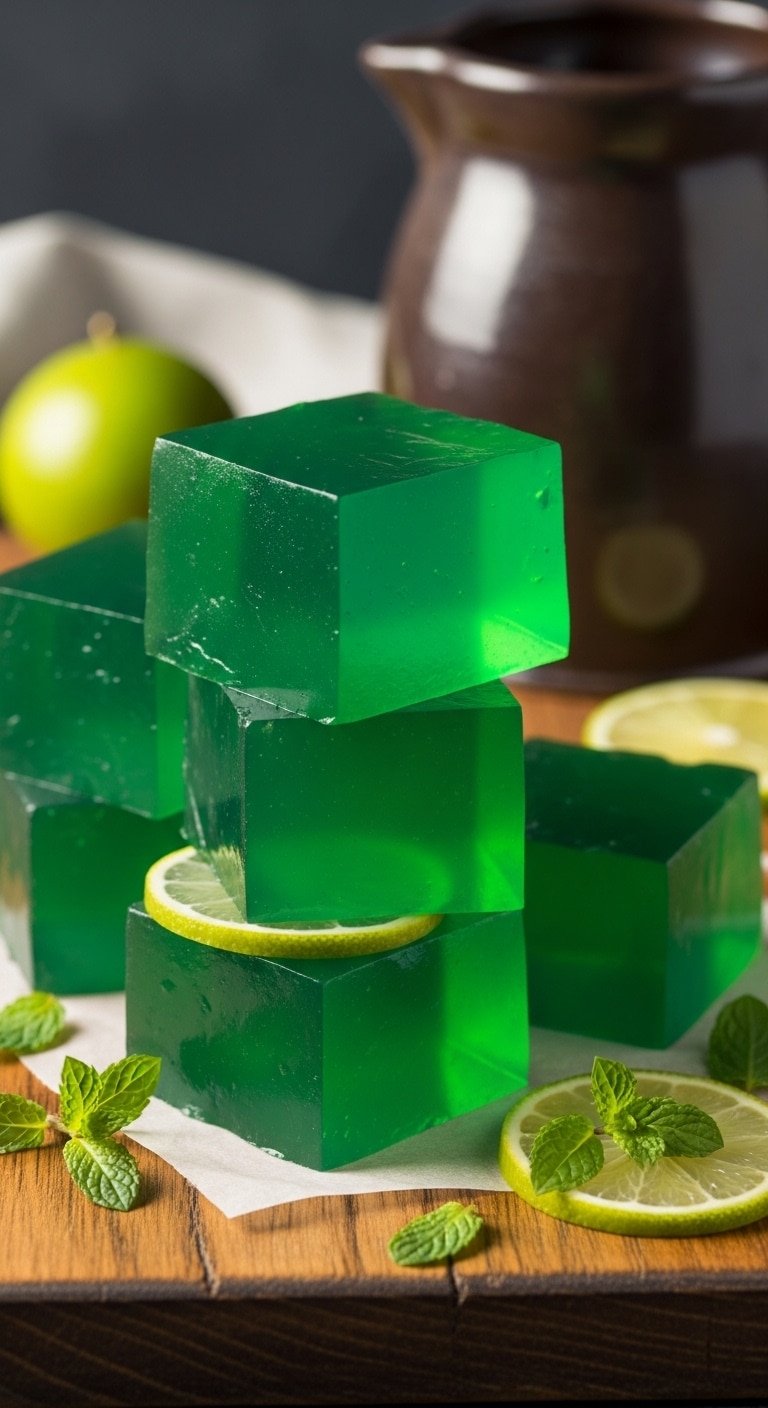
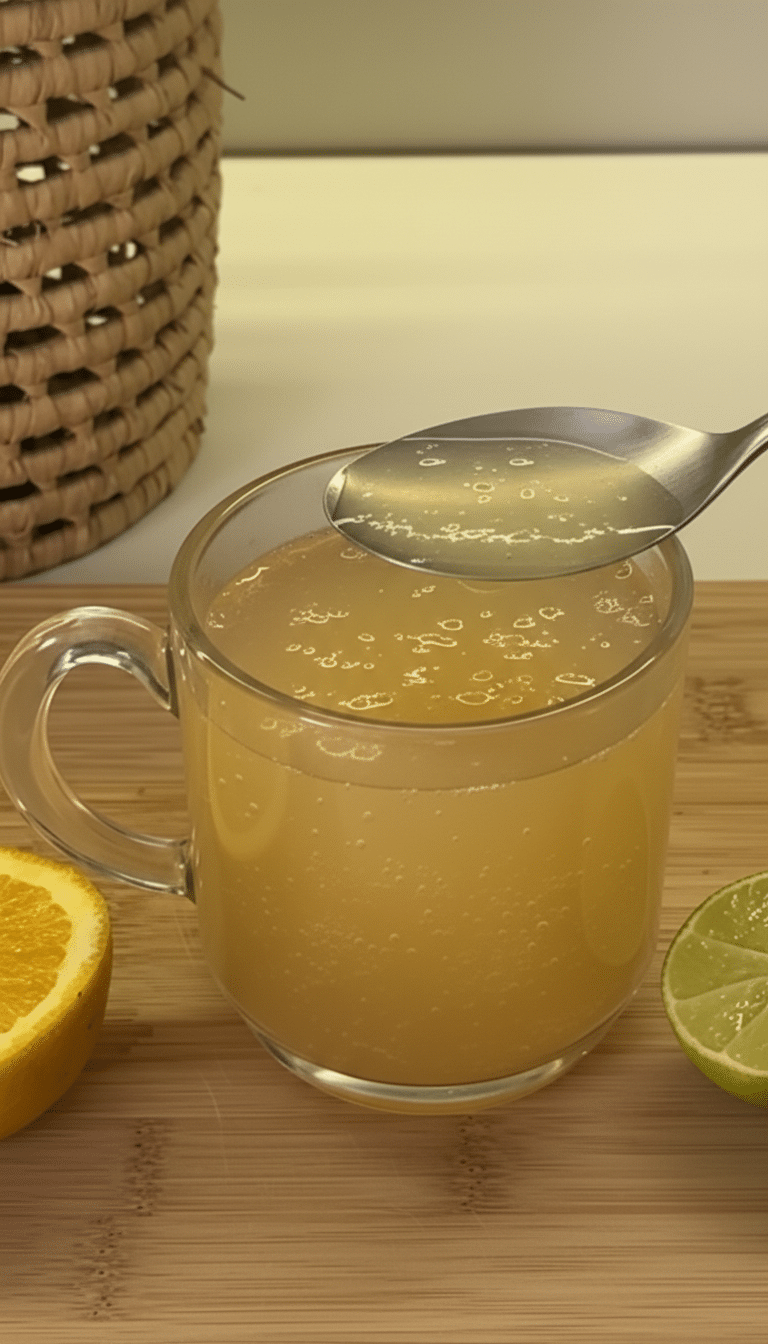
Discover more with our simple gelatin recipe with milk.
Ingredients
Here’s what you’ll need to create this delightful dessert:
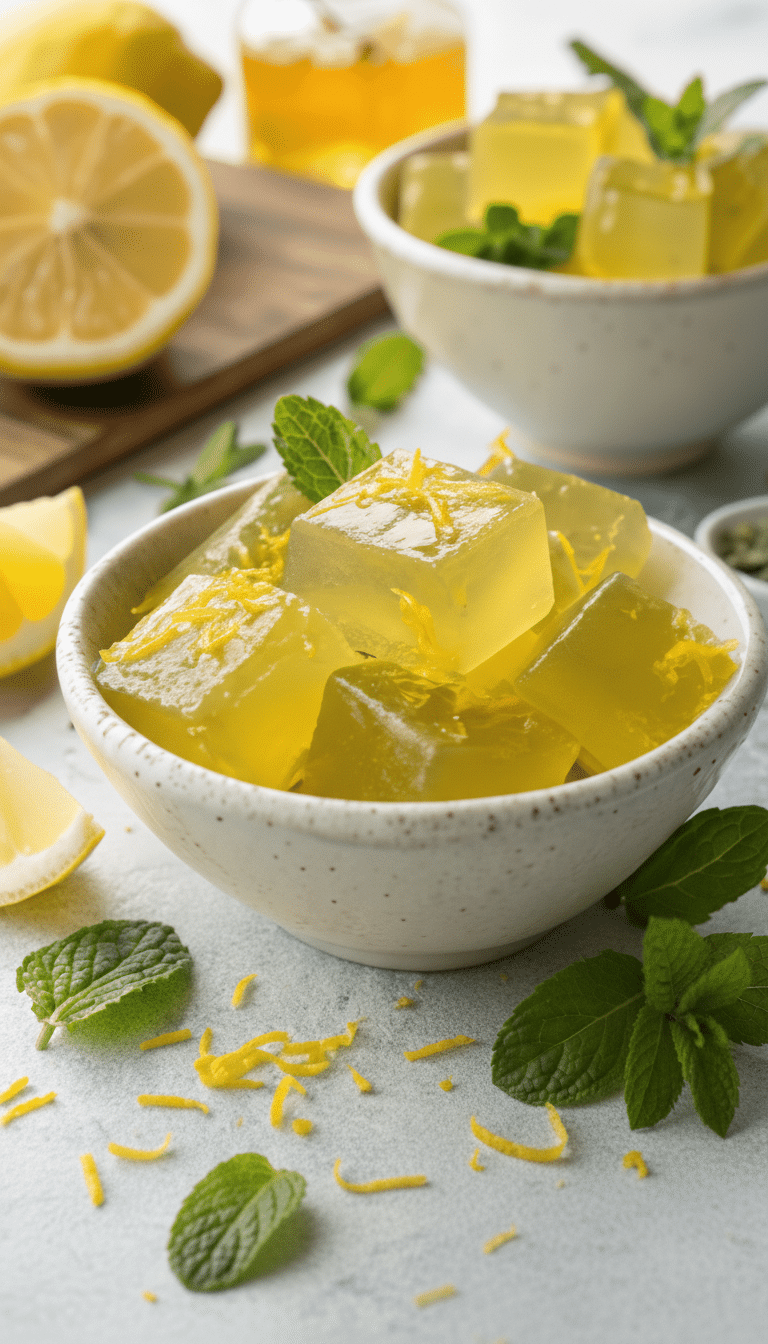
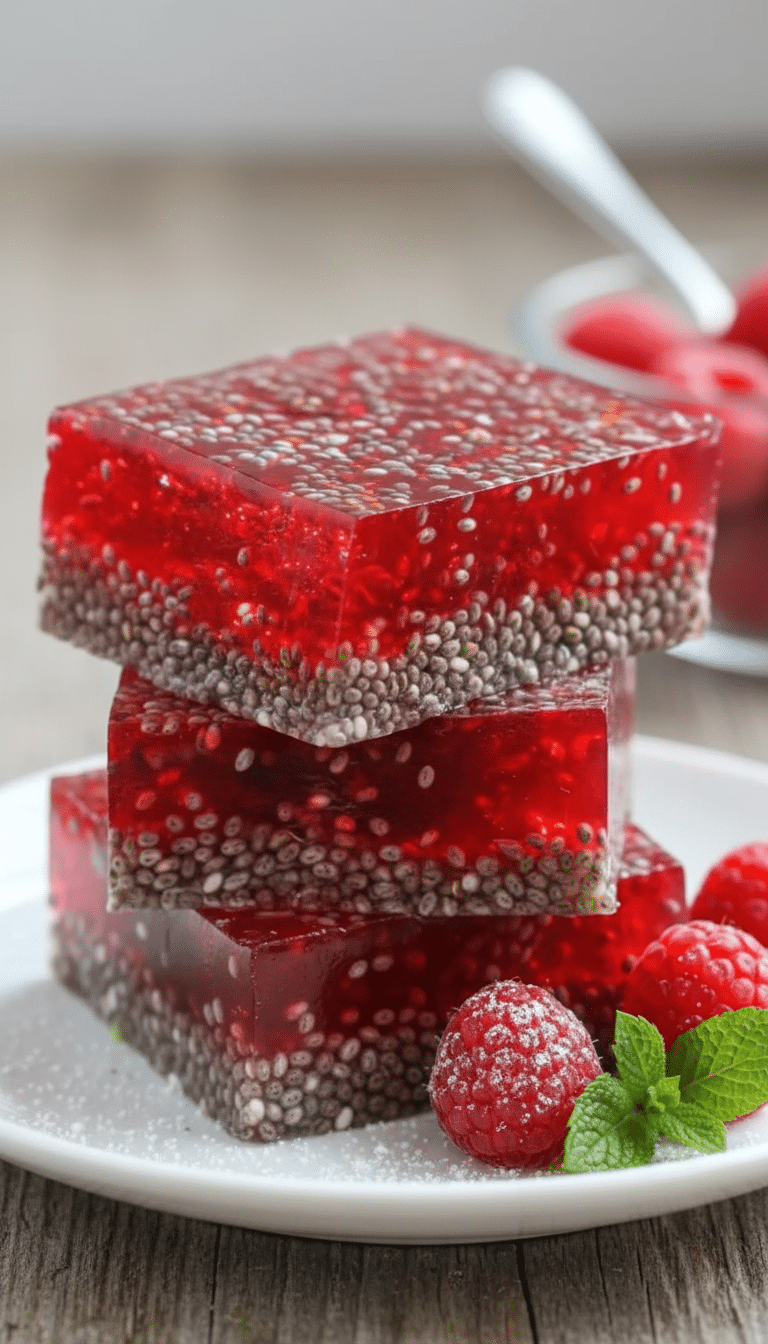
Discover more with our jillian michaels gelatin recipe 2.
- 2 cups whole milk
- 3–4 tablespoons rose syrup
- 2 1/2 teaspoons unflavored gelatin (1 packet)
- 3 tablespoons cold water (for blooming)
- 1–2 tablespoons sugar (optional)
Recommended Tools You’ll Need
Cook Time
| Prep Time | Cook Time | Setting Time | Total Time |
|---|---|---|---|
| 10 minutes | 10 minutes | 4 hours | 4 hours 20 minutes |
This recipe requires minimal hands-on time, with most of the process dedicated to chilling the dessert until it sets.
Discover more with our kelly clarkson gelatin recipe.
Nutrition Information
| Serving Size | Calories | Sugar | Fiber |
|---|---|---|---|
| 1 serving | ~120 kcal | ~12g | ~0g |
This dessert is relatively light, making it a guilt-free indulgence for those watching their calorie intake.
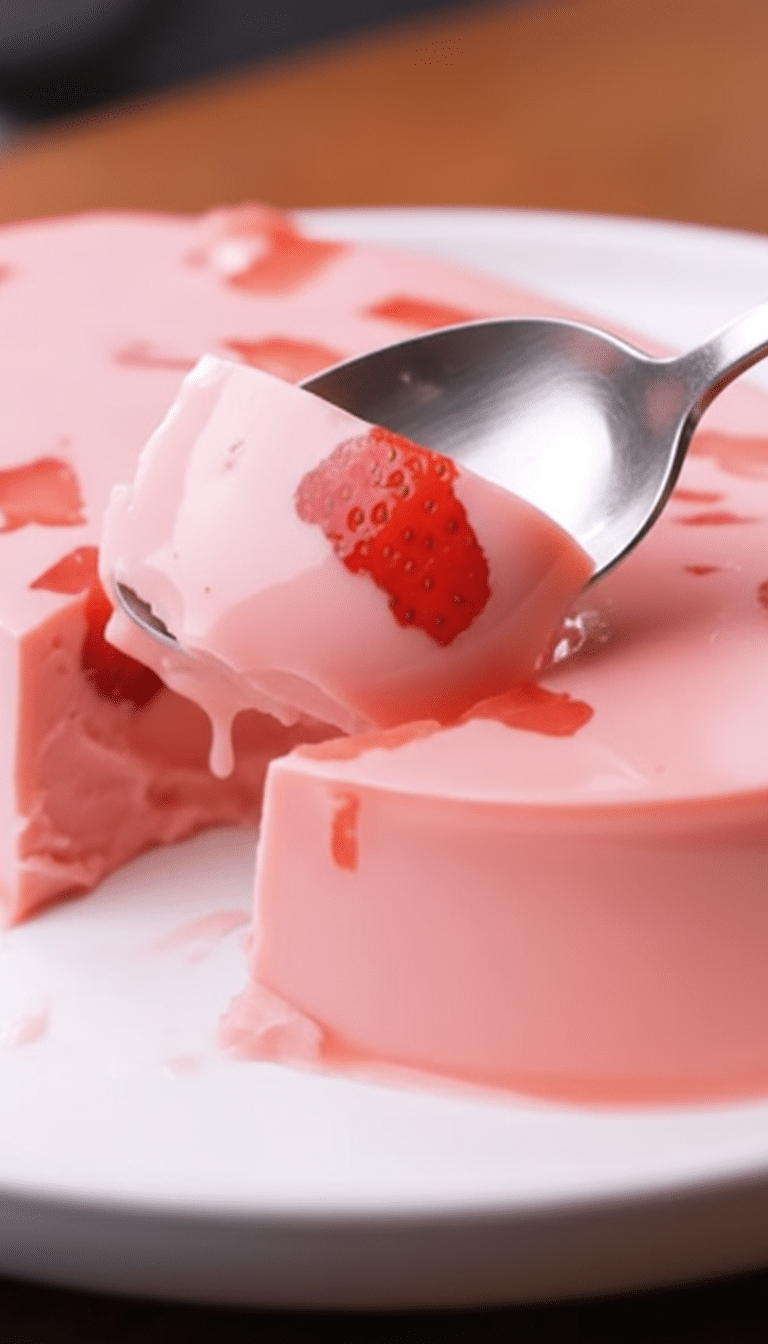
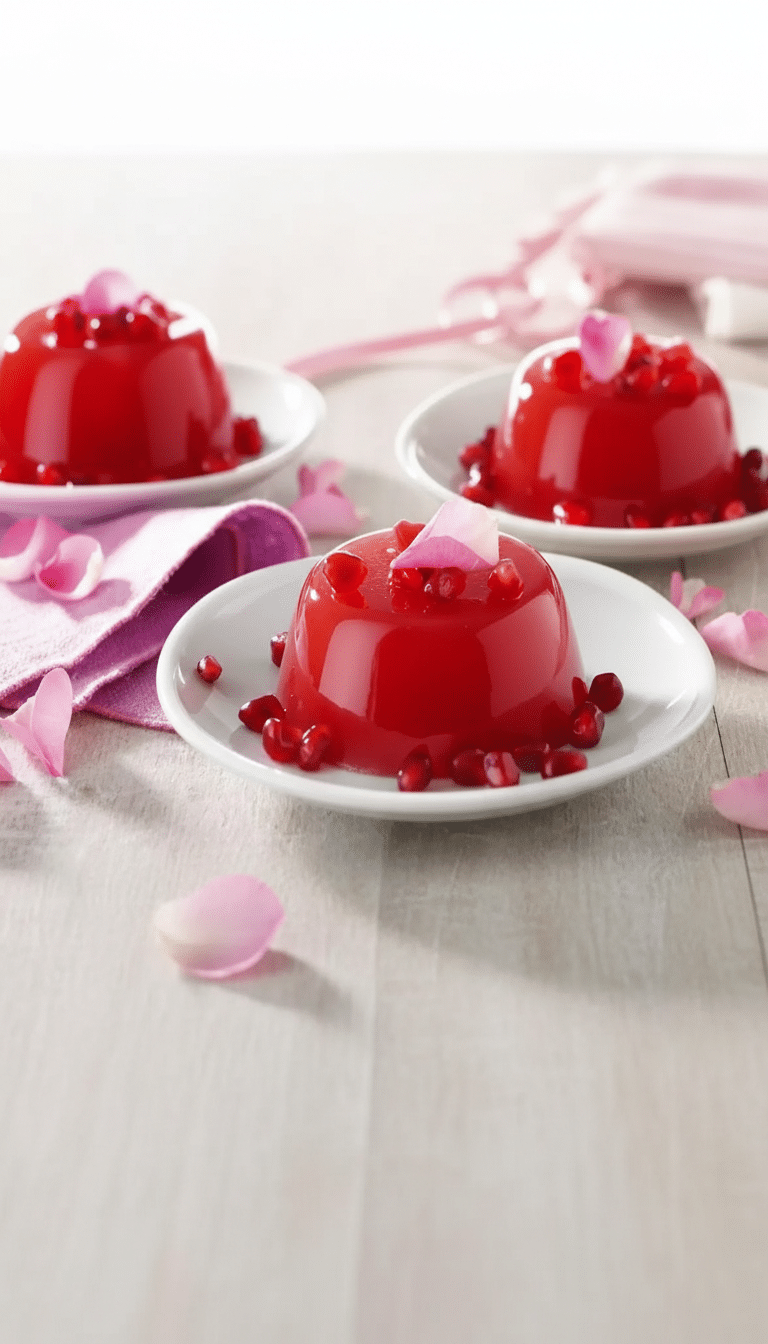
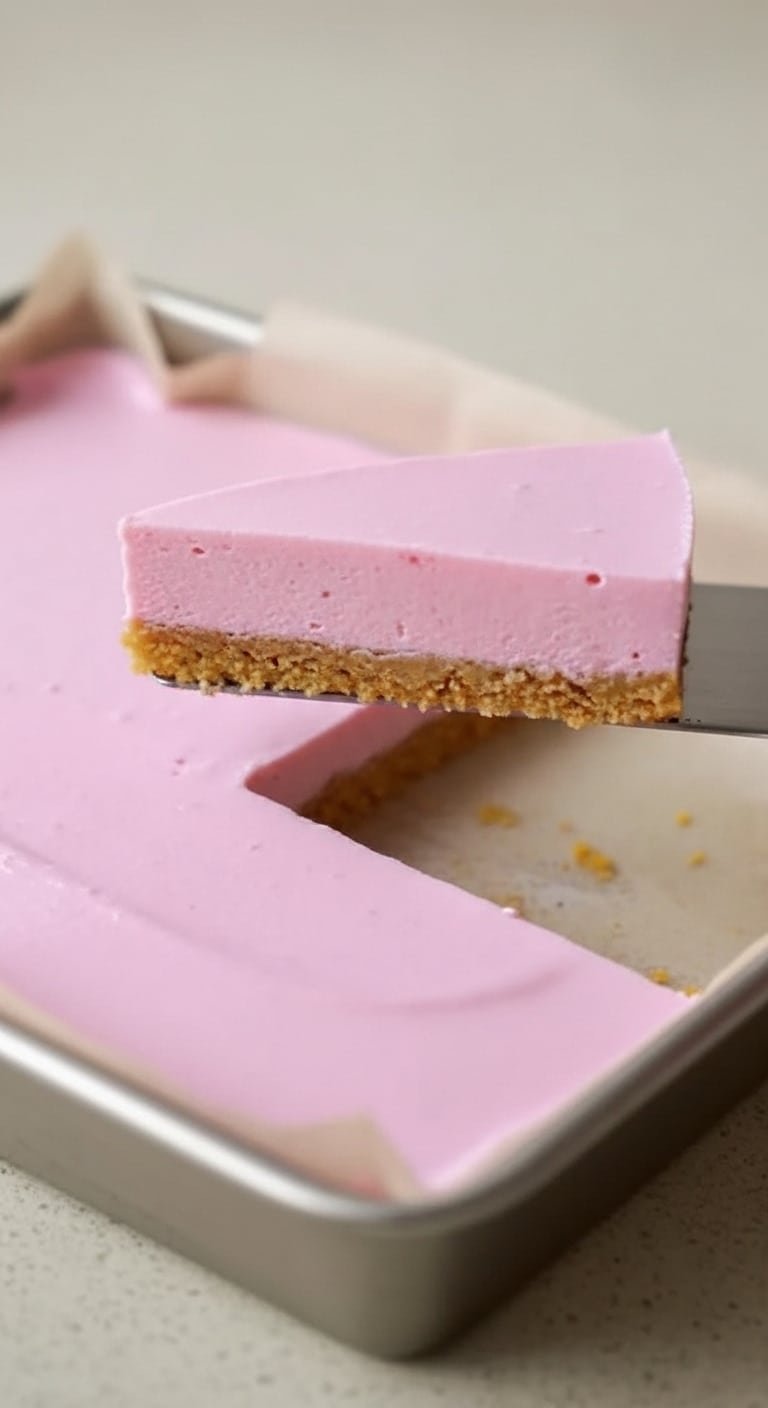
Discover more with our delicious pink gelatin delight recipe.
How to Make rose milk gelatin recipe
- In a small glass bowl, sprinkle the gelatin evenly over 3 tablespoons of cold water. Use a silicone spatula to gently stir the mixture, ensuring the gelatin is fully submerged. Let it bloom for 5 minutes.
- Pour 2 cups of whole milk into a medium saucepan. Place the saucepan on the stovetop over low heat and warm the milk gently, stirring occasionally with a wooden spoon. Do not let it boil.
- Add the bloomed gelatin mixture to the warm milk in the saucepan. Use a whisk to stir continuously until the gelatin is completely dissolved and the mixture is smooth.
- Stir in 3–4 tablespoons of rose syrup using the whisk, ensuring it is evenly distributed throughout the milk mixture. Taste and add 1–2 tablespoons of sugar if desired, whisking until dissolved.
- Carefully pour the mixture into a glass baking dish or silicone mold. Use a silicone spatula to scrape any remaining mixture from the saucepan into the dish.
- Cover the dish with plastic wrap, ensuring it touches the surface of the mixture to prevent a skin from forming. Refrigerate for at least 4 hours or until fully set.
- Once set, use a sharp chef’s knife to cut the dessert into even squares or slices. Serve chilled using a spatula or serving spoon.
Expert Tips
For the best results, follow these tips:
- Use high-quality rose syrup for the most authentic flavor.
- Ensure the gelatin is fully dissolved in the milk mixture to avoid a grainy texture.
- If you prefer a firmer texture, increase the gelatin by 1/2 teaspoon.
- Always taste the mixture before refrigerating to adjust sweetness to your liking.
Variations
Get creative with these variations:
- Add a splash of vanilla extract for a subtle twist.
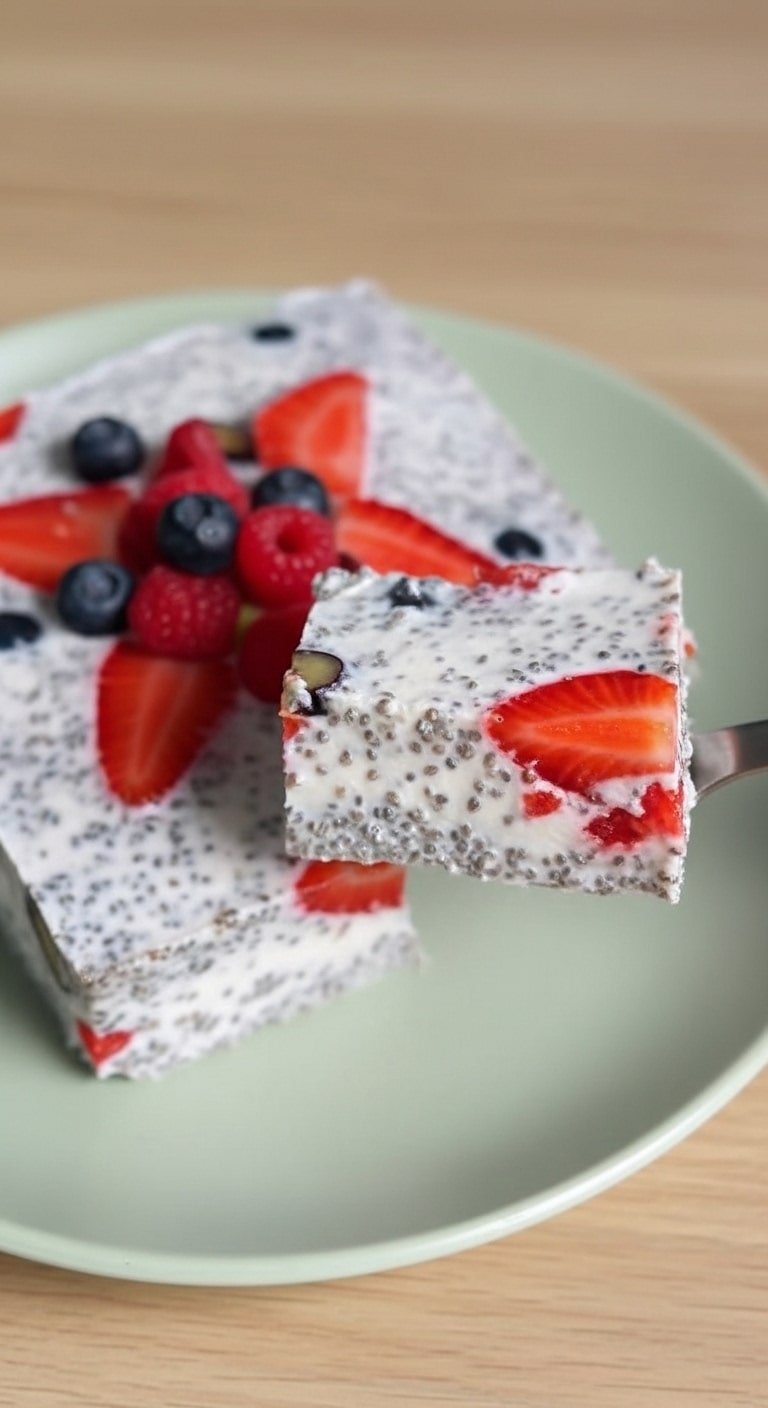
- Layer the gelatin with fresh berries or chopped nuts for added texture.
- Swap whole milk for coconut milk to create a dairy-free version.
Healthier Alternatives
To make this dessert healthier:
- Use low-fat or almond milk instead of whole milk.
- Opt for a sugar-free rose syrup or reduce the amount of added sugar.
- Add chia seeds for a boost of fiber and omega-3s.
Serving Suggestions
Serve this dessert with:
- A dollop of whipped cream or a sprinkle of crushed pistachios.
- Pair it with fresh fruit like sliced strawberries or pomegranate seeds.
- Enjoy it alongside a cup of hot tea or coffee for a delightful contrast.
Storage Instructions
Store the gelatin in an airtight container in the refrigerator for up to 3 days. Avoid freezing, as it can alter the texture.
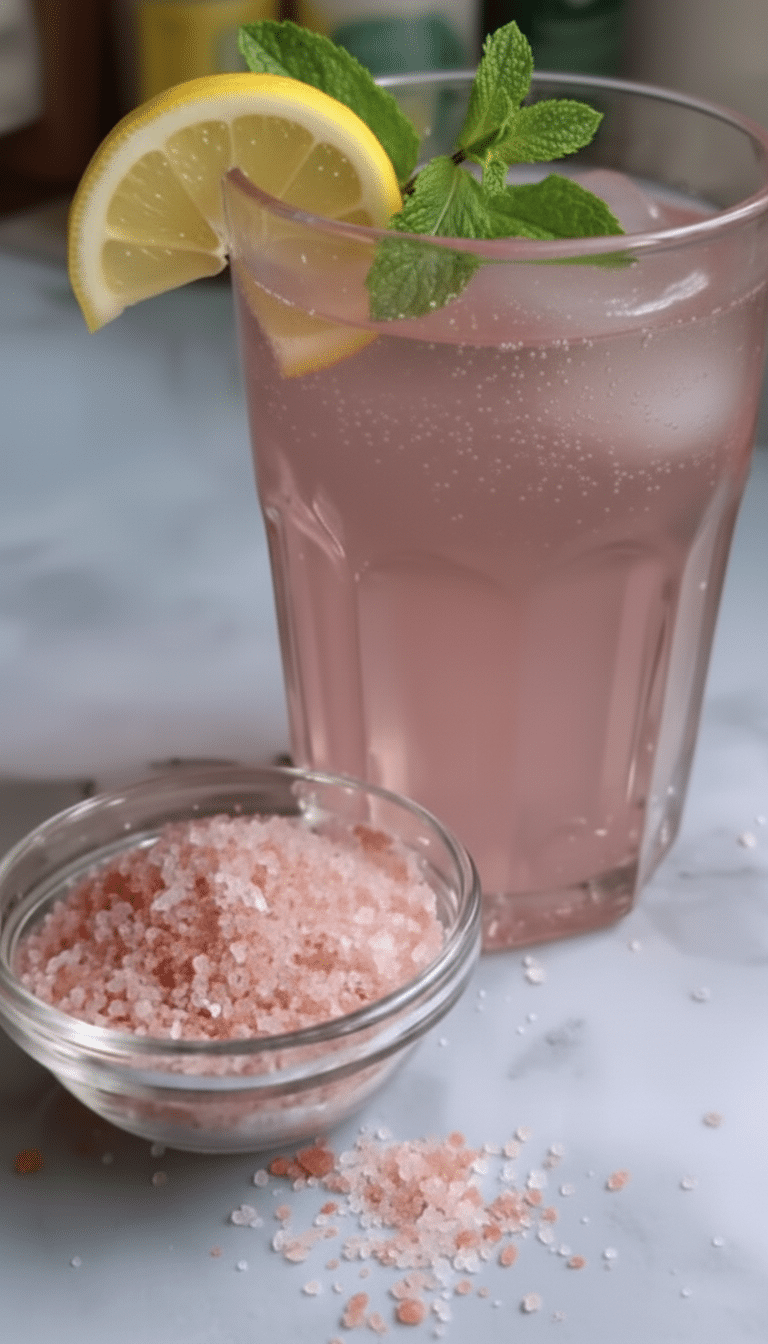
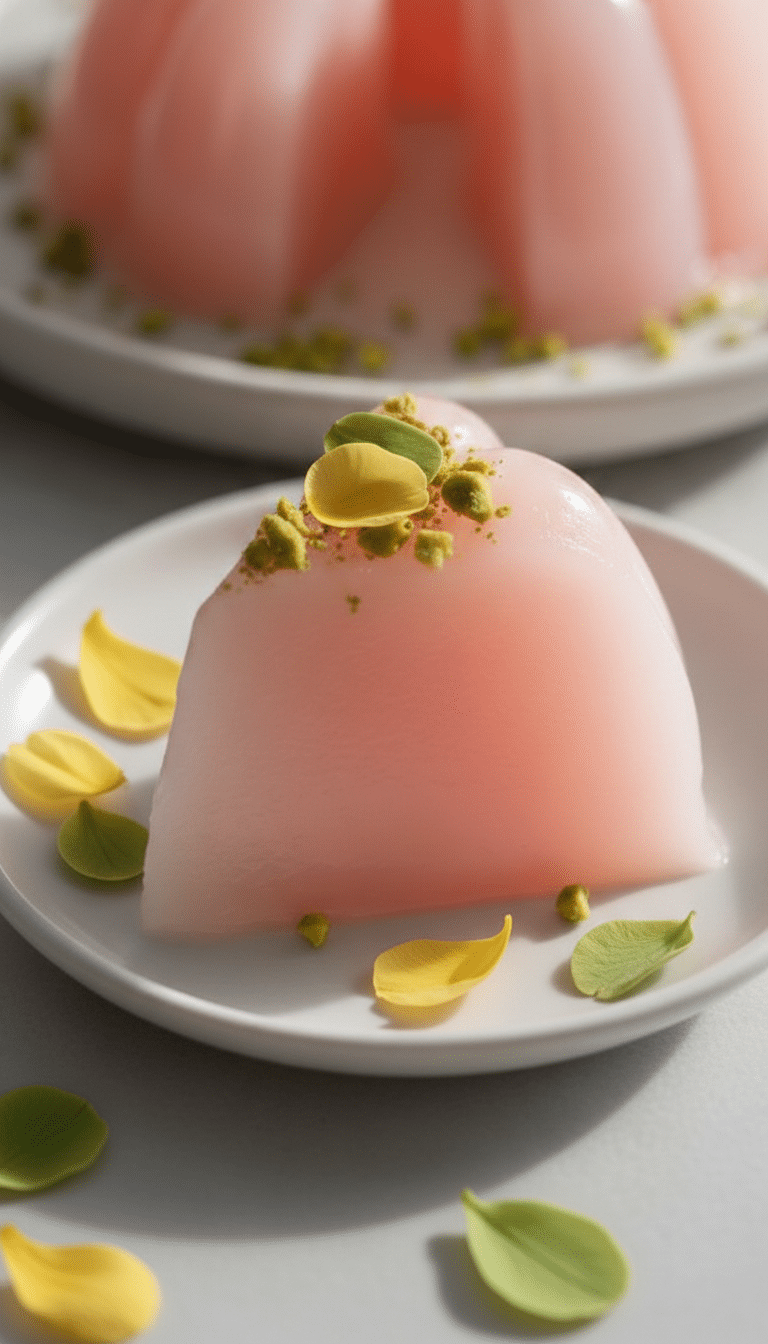
If you enjoyed this recipe, you might also like our pink salt gelatin trick recipe.

Frequently Asked Questions
How to make rose milk gelatin at home?
Making rose milk gelatin at home is simple and rewarding. Start by blooming unflavored gelatin in cold water, then dissolve it in warm milk. Add rose syrup or rose water for that signature floral flavor, along with a touch of sugar if desired. Pour the mixture into molds and refrigerate until set, usually 4-6 hours. The result is a delicate, creamy dessert with a nostalgic rose aroma that’s perfect for any occasion.
What ingredients are needed for rose milk gelatin?
You’ll need just a few basic ingredients: unflavored gelatin, cold water, whole milk (or a dairy-free alternative), rose syrup or rose water, and sugar (optional). For a richer texture, heavy cream can be added. The rose syrup gives the gelatin its signature pink hue and floral taste, while the milk provides a creamy base. This minimalist ingredient list makes it easy to whip up this elegant dessert anytime.
Can I use agar instead of gelatin in this recipe?
Yes, agar can be used as a vegetarian substitute for gelatin. Agar sets firmer and at room temperature, so adjust the quantity (typically 1 tsp agar powder per cup of liquid). Dissolve agar in boiling liquid, then mix with rose milk before cooling. Note that the texture will be slightly different—less creamy and more jelly-like. It’s a great option for vegetarians or those avoiding animal-based gelatin.
How long does rose milk gelatin take to set?
Rose milk gelatin typically sets in 4-6 hours in the refrigerator, though leaving it overnight ensures the perfect consistency. For quicker results, pour the mixture into shallow molds, which set faster due to increased surface area. Avoid freezing or leaving it at room temperature, as gelatin needs a controlled chill to firm up properly. Patience pays off—the wait is worth it for that silky, melt-in-your-mouth texture.
Is rose milk gelatin suitable for vegetarians?
Traditional rose milk gelatin isn’t vegetarian, as it uses animal-derived gelatin. However, you can easily make it vegetarian by substituting gelatin with agar-agar, a plant-based thickener. Use the same measurements, but follow agar’s preparation instructions (usually involving boiling). The flavor remains just as delightful, and the dessert stays creamy with a slight twist in texture. It’s a small swap that keeps the magic alive for everyone to enjoy.
Conclusion
This rose milk gelatin recipe is a dreamy, floral treat that’s as easy to make as it is delightful to eat. With its creamy texture and nostalgic rose flavor, it’s perfect for parties, holidays, or a quiet moment of indulgence. I love how it reminds me of childhood summers and family gatherings. Give it a try—it’s a simple yet elegant dessert that’s sure to become a favorite. Whether you stick to classic gelatin or opt for agar, the result is a little bowl of happiness.
Learn how to make Rose Milk Gelatin, a fragrant and creamy dessert perfect for any occasion. Simple steps and essential ingredients included.
Ingredients
- 2 cups whole milk
- 3–4 tablespoons rose syrup
- 2 1/2 teaspoons unflavored gelatin (1 packet)
- 3 tablespoons cold water (for blooming)
- 1–2 tablespoons sugar (optional)
Instructions
- In a small glass bowl, sprinkle the gelatin evenly over 3 tablespoons of cold water. Use a silicone spatula to gently stir the mixture, ensuring the gelatin is fully submerged. Let it bloom for 5 minutes.
- Pour 2 cups of whole milk into a medium saucepan. Place the saucepan on the stovetop over low heat and warm the milk gently, stirring occasionally with a wooden spoon. Do not let it boil.
- Add the bloomed gelatin mixture to the warm milk in the saucepan. Use a whisk to stir continuously until the gelatin is completely dissolved and the mixture is smooth.
- Stir in 3–4 tablespoons of rose syrup using the whisk, ensuring it is evenly distributed throughout the milk mixture. Taste and add 1–2 tablespoons of sugar if desired, whisking until dissolved.
- Carefully pour the mixture into a glass baking dish or silicone mold. Use a silicone spatula to scrape any remaining mixture from the saucepan into the dish.
- Cover the dish with plastic wrap, ensuring it touches the surface of the mixture to prevent a skin from forming. Refrigerate for at least 4 hours or until fully set.
- Once set, use a sharp chef’s knife to cut the dessert into even squares or slices. Serve chilled using a spatula or serving spoon.
Nutrition Information
Per serving
386
30g
16g
6g
24g
324mg